SharePoint – 2 Mistakes to avoid when importing Excel data
A common, frequent requirement for app builders is to import an Excel spreadsheet into SharePoint. A typical use case is where we use Excel as a data source, we reach the delegation/data size limitations of Excel, and we need to migrate to a better data source.
The simple go-to method is to use the import spreadsheet option in SharePoint. In this post, I’ll highlight the two common mistakes that happen, and provide a brief walk-through of the process.
Mistake 1 - Not correctly preparing our Excel spreadsheet
The first thing is to make sure that the columns and cells in Excel reflect the correct data type. For example, we should make sure to format any numeric values in our spreadsheet as a number, to prevent the import process from importing the column as text.Also, we should remove any columns that we no longer need. For
instance, if we've connected to our source spreadsheet from Power Apps,
we should make sure to remove the auto generated __PowerAppsID__ column
that Power Apps adds.
Although we can correct these data issues post-import, it generally takes less time overall if we invest some time upfront to make sure that the source data is as clean as possible.
Mistake 2 - Not using IE, and not configuring the settings correctly
In addition, there are 2 VERY important IE settings that we must apply:
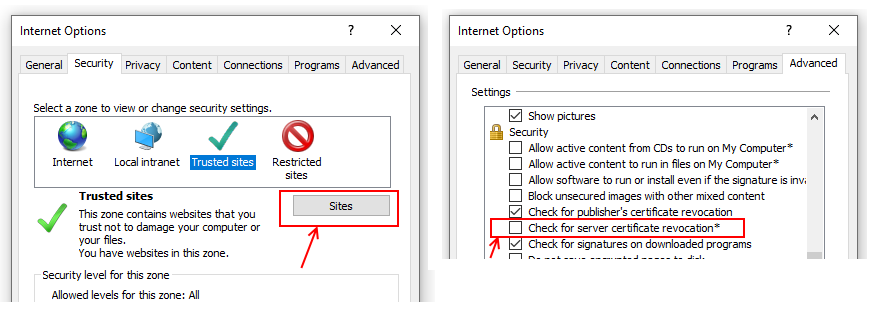
- We must add the our target SharePoint site into IE's trusted zone
- We must untick the "check for server certificate revocation" checkbox in the Advanced > Security section of Internet options.
Walkthrough
Now that we've applied the necessary IE settings, here's a walkthrough of the import process.
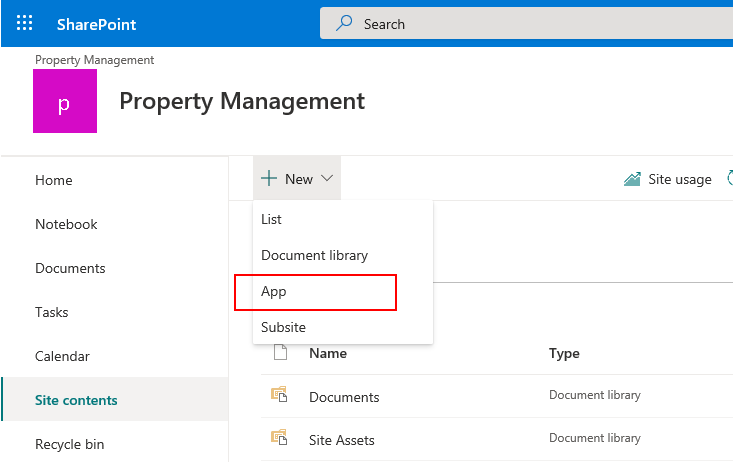
The first step is to select the New > App menu item from SharePoint.
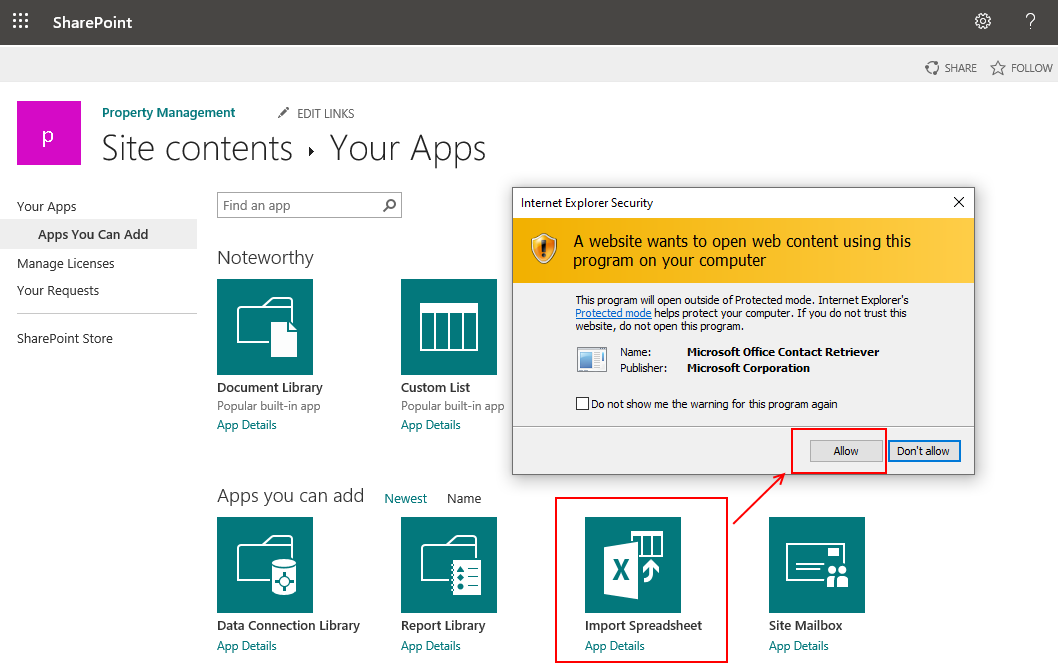
From here, we select the Import Spreadsheet option. A security dialog will appear, which we should allow.
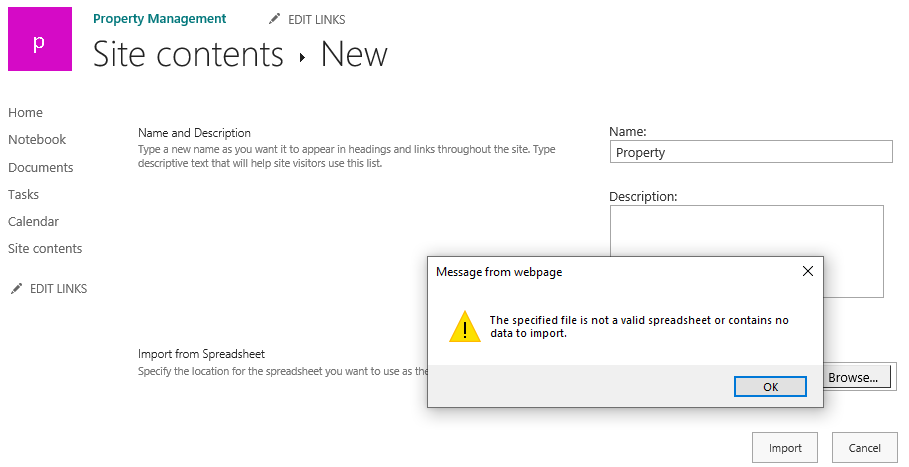
In the next step, we specify the name of our new target SharePoint list and we browse for our target spreadsheet file. Note that if we didn't add our SharePoint site to IE's trusted zone, we'll receive the message "The specified file is not a valid spreadsheet or contains no
data to import.", as shown beneath.
Next, Excel will open and we can use dialog to select our source Excel data. We can then click the Import button to import the data into our new list, and to complete the process.

If the import button fails to work, the most likely culprit is that the
"check for server certificate revocation" setting is causing Excel not
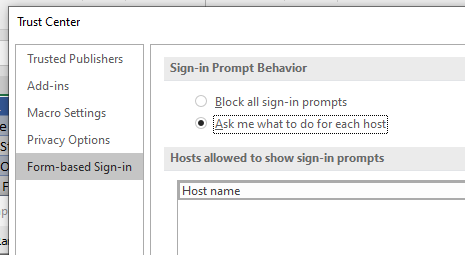
to authenticate correctly to SharePoint. If there is still an authentication problem, we should make sure that sign-in prompts are not blocked from the settings in Excel's Trust Center.
Conclusion
In this post, we walked through the import Excel feature in SharePoint. When we use this feature, we must make sure to use Internet Explorer, add the our SharePoint site to IE's trusted zone, and to disable the option to check for server revocation.
