Dataverse - How you can more quickly bulk update data using the SQL language
When developing and testing apps with Dataverse, modifying and bulk-updating records can be difficult.
For example, deleting all records in a table or setting the value of multiple records based on a condition isn't straightforward.
If you're familiar with SQL, an easier option can be to install XrmToolBox and the SQL4CDS plugin and to issue SQL statements.
What is XrmToolBox?
XrmToolbox is a free Windows application that allows users to connect to, manage, and customize Dataverse, Dynamics 365, and Power Platform solutions. From XrmToolbox, we can install plugins to carry out a wide range of tasks.
How to install XrmToolBox and SQL4CDS plugin
To install XrmToolbox, we visit the website below where we can download and install the latest version. There are more detailed instructions on how to perform through the XrmToolBox website.
https://www.xrmtoolbox.com/
Once XRMToolBox is installed, we open the Tool Library section. From here, we can search for and install the SQL 4 CDS plugin.

Creating a connection to Dataverse
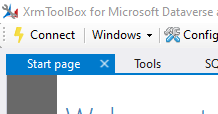
XrmToolBox requires a connection to Dataverse which we setup by clicking the Connect button.
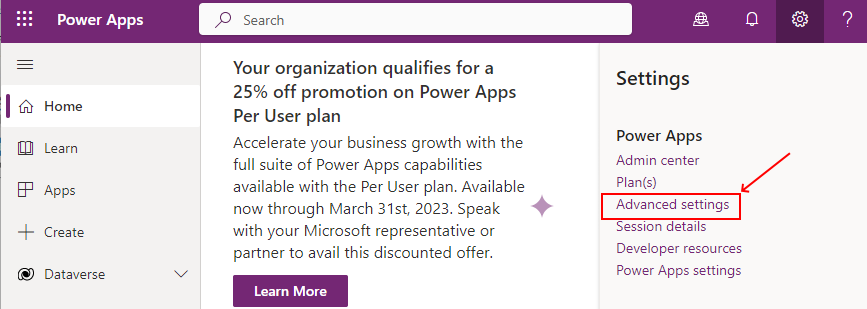
This process requires the 'Dynamics URL'. We can determine this by clicking the 'Advanced settings' menu item in the settings menu.
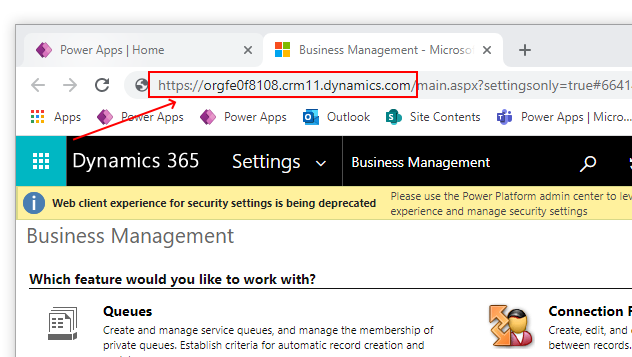
This opens the Dynamics 365 settings area in a new browser window, and the URL we use to connect is the first part of that address.
Using SQL4CDS to issue SQL Commands
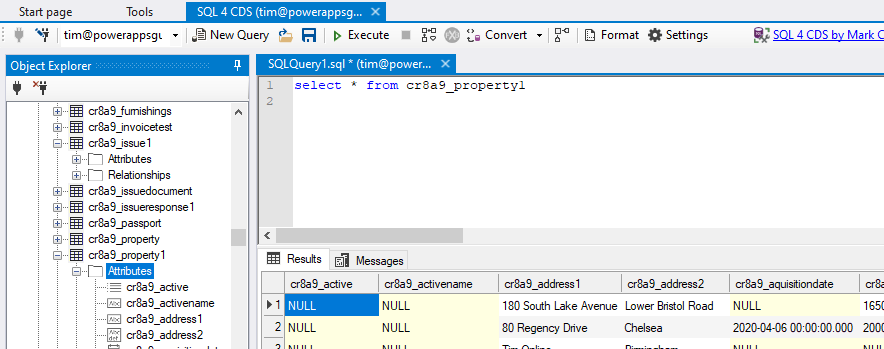
Once SQL4CDS is installed, we can open a window as shown beneath. The object explorer view on the left-hand side shows all Dataverse tables beneath the 'entities' group.

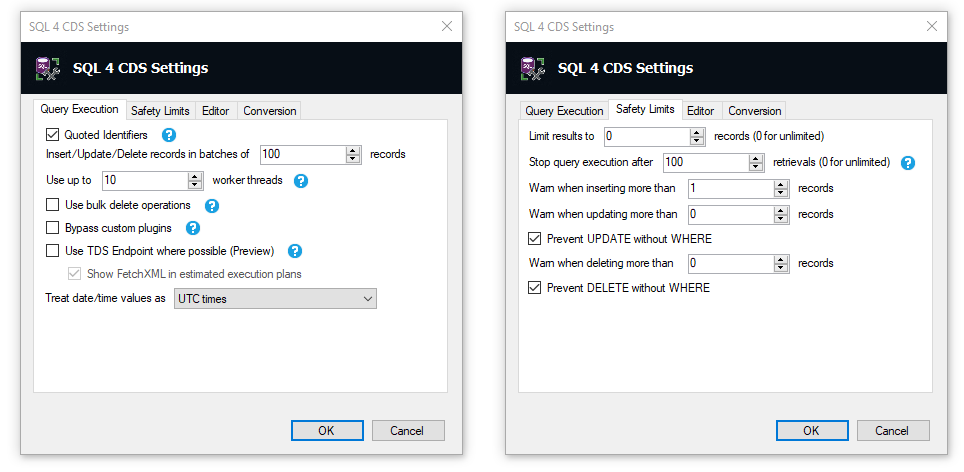
From the toolbar, we configure the SQL4CDS settings as shown in the screenshot below.
Some notable settings include 'Use bulk delete operations' which improves the performance of bulk deletions. Beneath the 'Safety Limits' tab, we can prevent the execution of update or delete commands without a 'where' clause. This can help prevent the accidental update or deletion of all rows in a table.
Selecting records from a Dataverse table
We can issue a 'select' statement to return records from a table. We specify the logical Dataverse name so in this example, the logical name of an example table called Property is cr8a9_property1. A useful feature is that we can double-click table and field names in object explorer to insert the name into the editor. We click the 'execute' button to execute the query and the result appears in a grid as shown below.
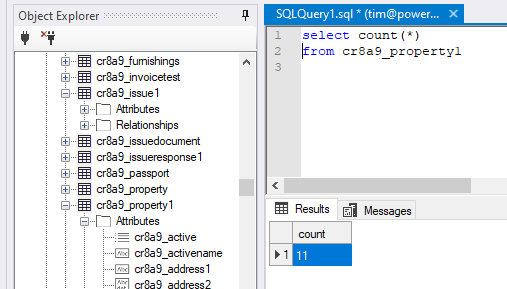
We can also execute aggregate functions, such as the statement below to count the number of records in a table.
Updating all records in a Dataverse table
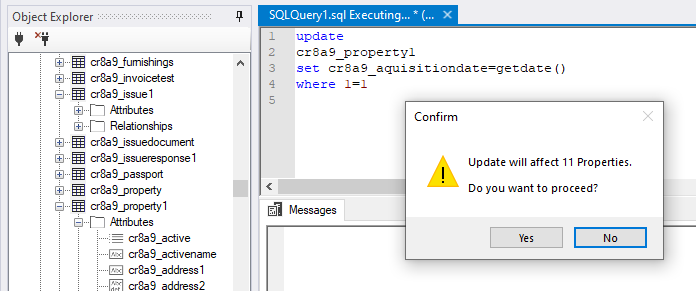
To highlight how to update all records in the property table, we issue the following SQL command.
UPDATEThis command sets the 'acquisition date' field to today's date. The WHERE clause here is a hack that enables us to update all records in the table without enabling the 'prevent update without where' setting.
cr8a9_property1
SET cr8a9_aquisitiondate = getdate()
WHERE 1=1
When we execute the command, SQL4CDS prompts for confirmation before it updates the records.
Deleting all records in a Dataverse table
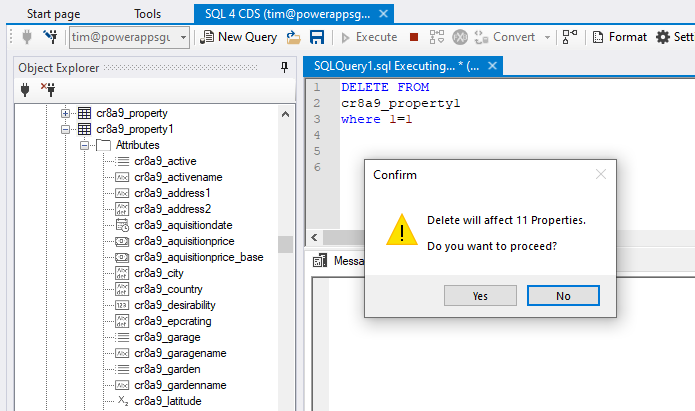
To delete all records in a table, we can use issue a Delete statement like so:
DELETE FROMLike before, SQL4CDS prompts for confirmation before it carries out the deletion.
cr8a9_property1
WHERE 1=1
Inserting records into a Dataverse table
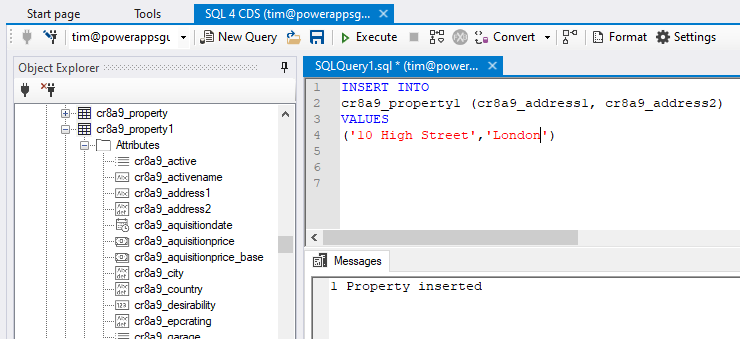
It's also possible to insert records into a table by issuing an Insert command like so:
INSERT INTO
cr8a9_property1 (cr8a9_address1, cr8a9_address2)
VALUES
('10 High Street','London')
Here's the result that appears when we execute this command.
Conclusion
When building and testing apps, it can be very useful to modify Dataverse data using the SQL language. We can do this with the help of the SQL4CDS XRMToolBox plugin, and this post provided some examples of how this works.
