Data - How to move SharePoint sites, lists, and data
The typical requirement that often arises is this - how do we move sites, lists, and data between different sites, or different SharePoint organisations?
The reason for this requirement is important because it supports the process of building apps against a DEV SharePoint site, and moving the changes to a LIVE site at the end of the process. It also supports the use-case where third parties build SharePoint based Power Apps for clients or customers.
Introducing the PnP Framework and Provisioning Engine
The PnP Framework and Provisioning Engine is exactly designed for this task (PnP standing for patterns and practices). With this method, we can define a SharePoint site, including lists, columns, content types, pages, and more, using a template. This template can be in XML, JSON, or a container format called a PnP file. We can then issue PowerShell commands to install the template using the Provisioning Engine.
The documentation here describes the PnP framework in a very readable way.
https://docs.microsoft.com/en-us/sharepoint/dev/solution-guidance/introducing-the-pnp-provisioning-engine
How to install PnP PowerShell
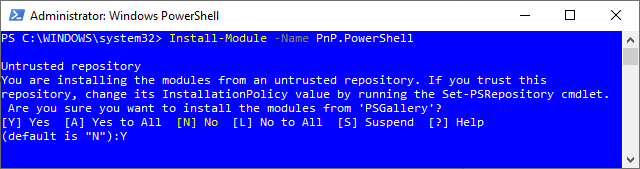
To install PnP PowerShell, we start PowerShell as an administrator. That is, we search for PowerShell through the Windows 10 Start Menu, and we choose the option to 'run as an administrator'.
Install-Module -Name PnP.PowerShellDuring the installation process, we need to agree that the module comes from an untrusted repository. When we choose 'yes', the installer will download and install the PnP PowerShell.
Register-PnPManagementShellAccessExporting/Downloading a SharePoint site definition
At this stage, we can run the PowerShell commands to export our source SharePoint site to a local file on our computer. Here are the PowerShell commands that we run:
#1 - Connect to the source SharePoint site
Connect-PnPOnline -Url "https://sourceSite.sharepoint.com/sites/sourceSite"

#2 - Export the source site definition
Get-PnPSiteTemplate -Out "C:\PowerApps\SharePoint\mySite.xml"

#3 - Export the list data for the specified lists
Add-PnPDataRowsToSiteTemplate -Path "C:\PowerApps\SharePoint\mySite.xml" -List "PropertyType"
Add-PnPDataRowsToSiteTemplate -Path "C:\PowerApps\SharePoint\mySite.xml" -List "Property"
The first cmdlet initiates the connection to our source SharePoint list. We would replace the URL with our source SharePoint address. PowerShell will open a dialog that prompts us to login using our Microsoft 365 account.
https://pnp.github.io/powershell/articles/upgrading.html
Examining the template file
After we export the template, we can open the XML template file in Visual Studio Code or a text editor. The example above exported the output template to "C:\PowerApps\SharePoint\mySite.xml".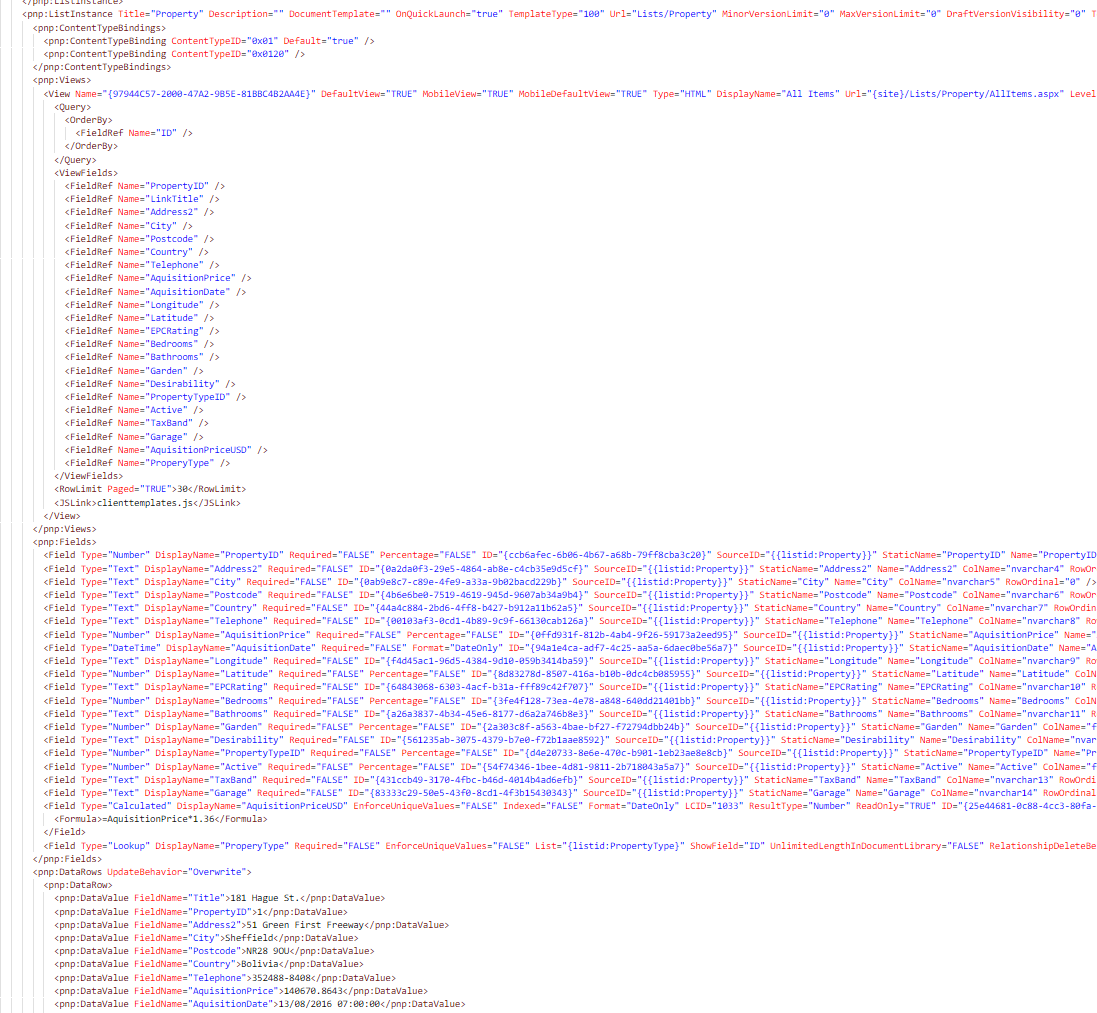
Importing our changes to a destination SharePoint Site
https://pnp.github.io/powershell/cmdlets/Invoke-PnPSiteTemplate.html
#1 - Connect to the destination SharePoint site
Connect-PnPOnline -Url "https://destinationSite.sharepoint.com/sites/destinationSite"

#2 - Import the items from the template file
Invoke-PnPSiteTemplate -Path "C:\PowerApps\SharePoint\mySite.xml"
