The easiest way to caption images with AI in Power Apps
If you want to caption images with AI, the good news is that you can easily accomplish this with AI builder. This post walks through how to quickly create an app that uses the 'image description model' and explains the basics of how the feature works.
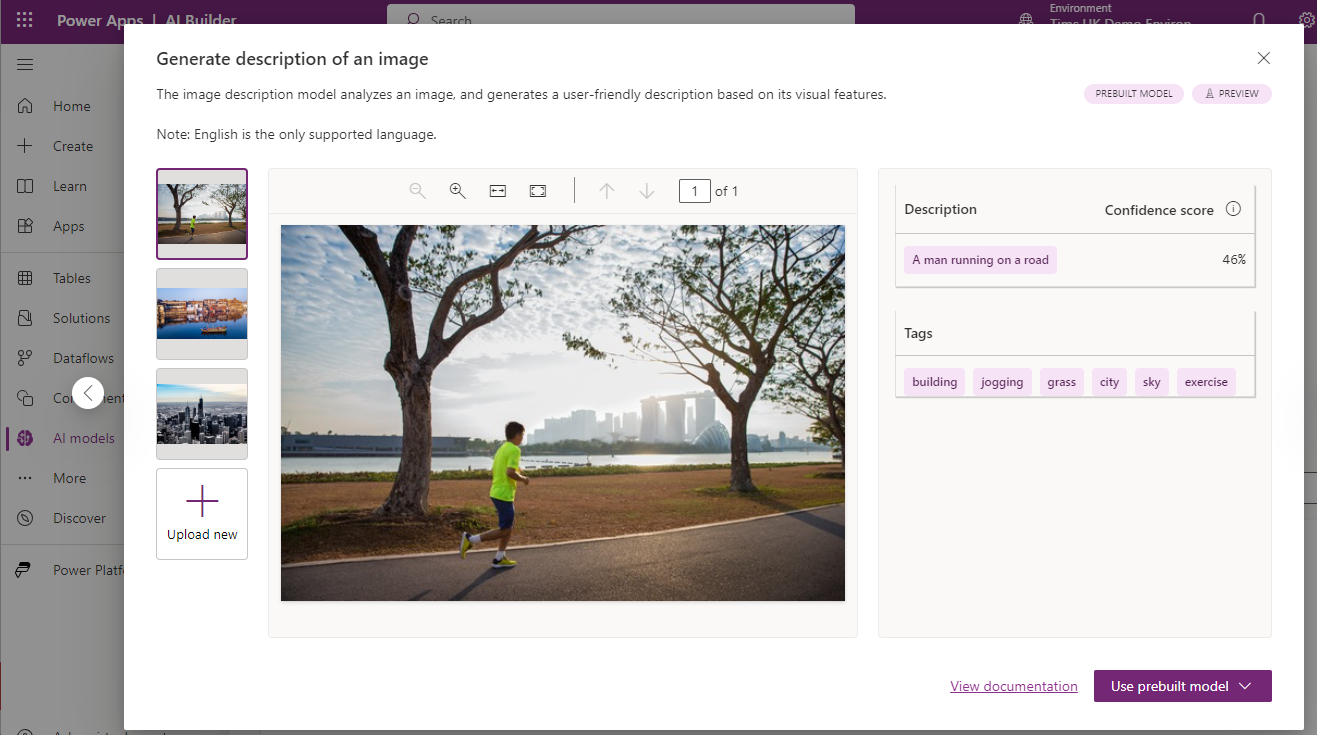
We click the 'Use prebuilt model' button to create the app. The result is shown beneath.
Captioning images with AI from a Power App
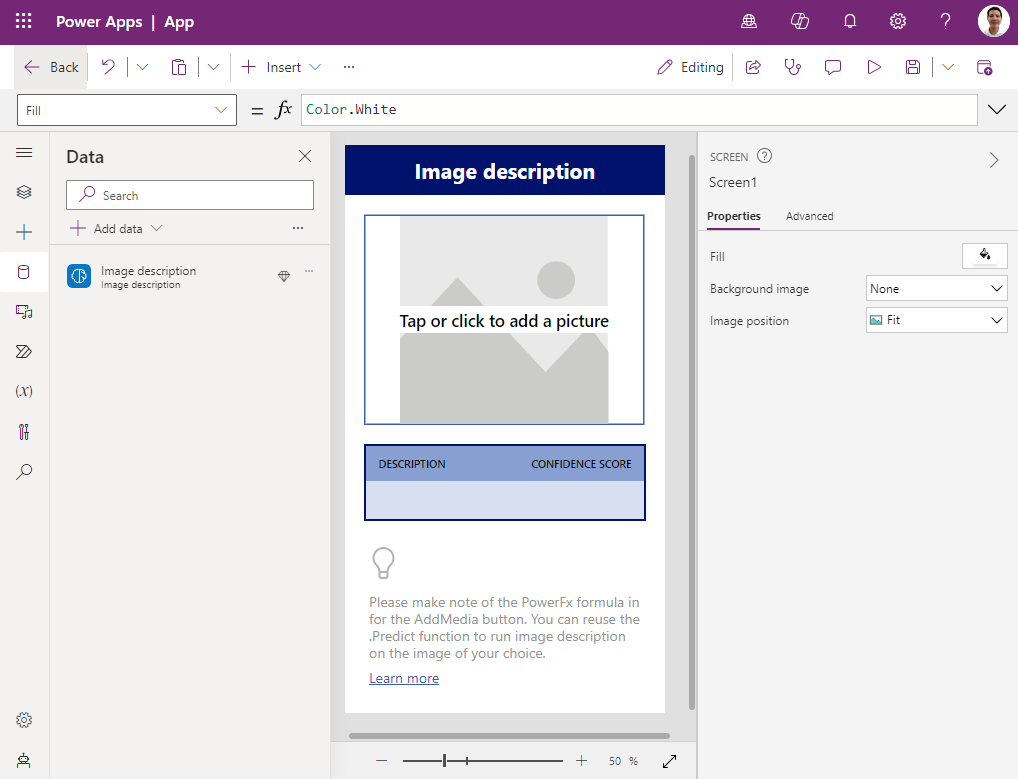
Let's take a look at how this app works, including the effectiveness of the image captioning.

What formula do we use to caption images?

To demonstrate, we'll create an auto-generated app from the Maker portal. This creates an app that includes all the necessary components and formula, and provides a simple way to learn.
For reference, the link to the official Microsoft documentation is here:
https://learn.microsoft.com/en-gb/ai-builder/prebuilt-image-description?WT.mc_id=DX-MVP-5004229
https://learn.microsoft.com/en-gb/ai-builder/prebuilt-image-description?WT.mc_id=DX-MVP-5004229
Creating an AI app from the Maker portal
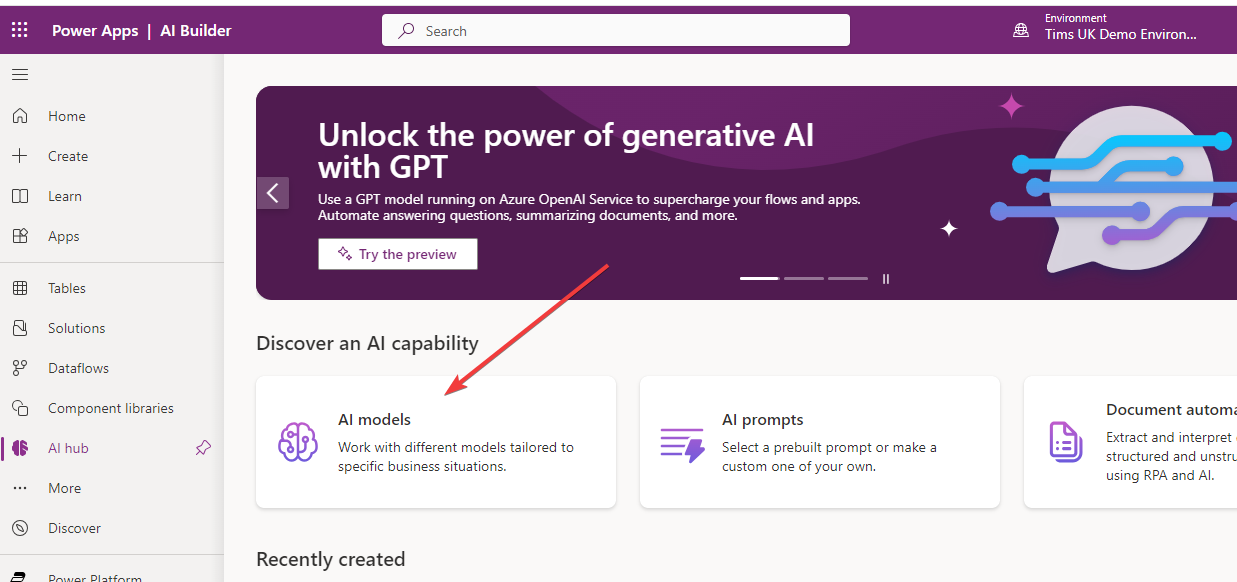
To build an app to caption images with AI, we navigate to the "AI Hub" from the Maker Portal. If "AI Hub" doesn't appear in the left-hand rail, we can find it by clicking the 'More' link.
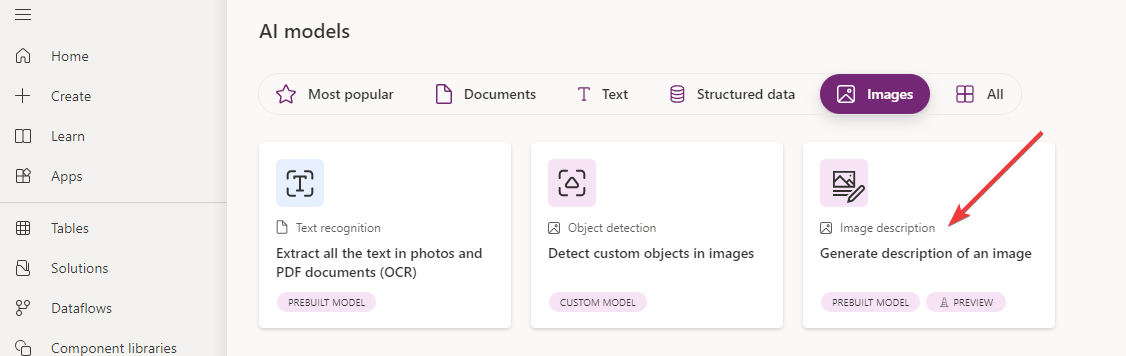
From the AI models section, we click the option to 'Generate description of an image'.
This opens the panel shown beneath.
We click the 'Use prebuilt model' button to create the app. The result is shown beneath.
Captioning images with AI from a Power App
Let's take a look at how this app works, including the effectiveness of the image captioning.The app contains a file upload control which we use to upload an image. On uploading an image, the caption and confidence score (the likelihood of the caption being correct) appear on the labels beneath.
As a quick demonstration, here are some results based on random images that I uploaded.
On uploading an image of Machu Picchu, the AI captions the image as "a city on a mountain".
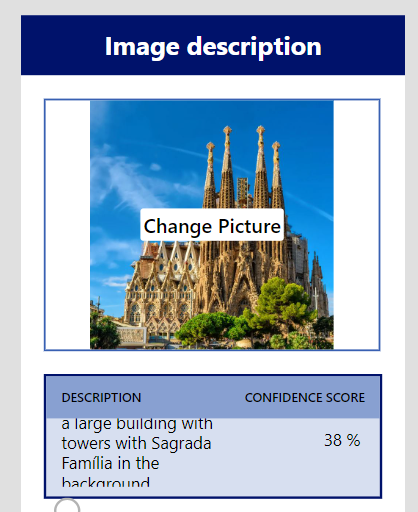
Note it doesn't detect exactly that it's an image of Machu Picchu, although it fares better with an image of Sagrada Familia.
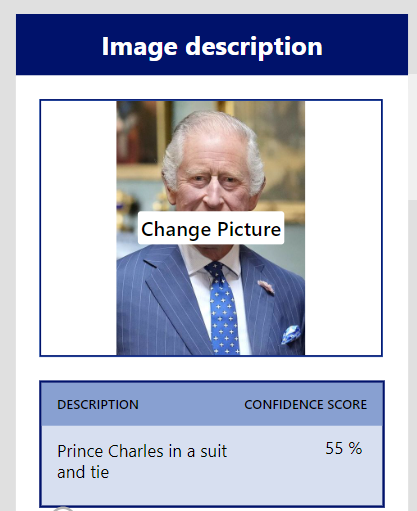
In terms of images of individuals, the AI captions Charles III as 'Prince Charles in a suit and tie'. At the time that this was run (January 2024), the correct caption should be 'King Charles'. This is an illustration of an inaccuracy that can occur based on the date of the data that's used to train the model.
What formula do we use to caption images?
How does this example app work? The image captioning is triggered from the OnChange event of the 'Add picture' control. The OnChange formula calls the formula below:
Set(PredictionResult,With this formula, 'Image description' is a reference to the AI Builder image description model, highlighted beneath.
'Image description'.Predict(UploadedImage1.Image)
);
IfError(PredictionResult,
Notify(FirstError.Message,NotificationType.Error)
)
The 'Image description'.Predict method returns a data table which is stored in a variable called PredictionResult.
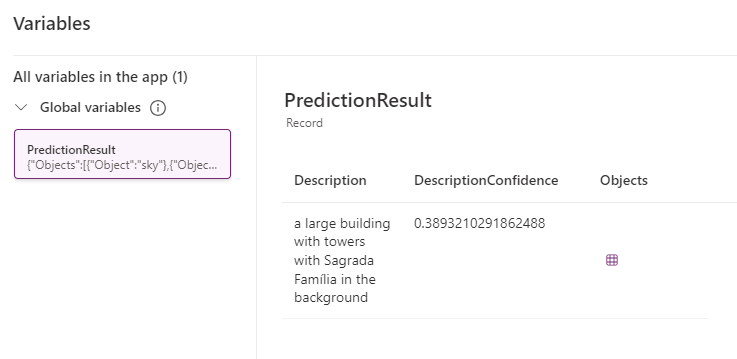
The screenshot below illustrates the PredictionResult variable. Here, we see that it contains a single record with the Description (caption value) and DescriptionConfidence.
The record contains a field called Object. This is a child table with image tags as illustrated in the screenshot beneath.
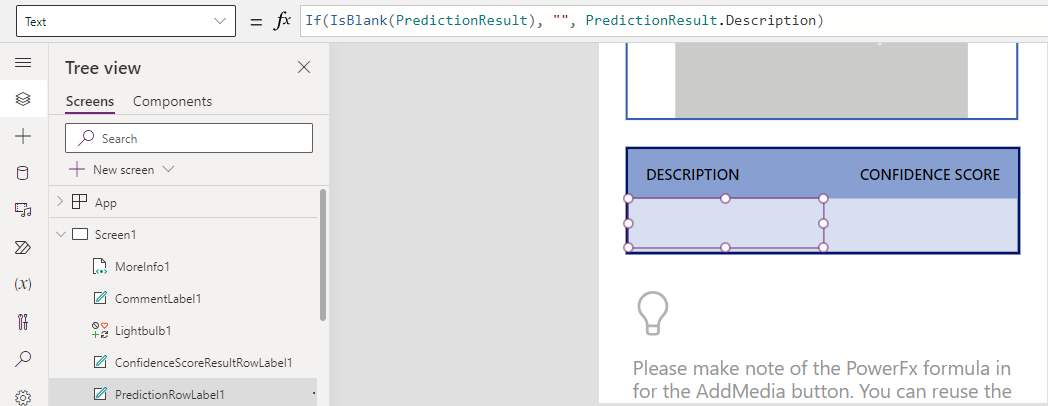
To display the result on the screen, there's a label that displays the Description from the variable like so:
If(IsBlank(PredictionResult),
   "",
   PredictionResult.Description
)
Similarly, the confidence score is displayed using a similar approach. The formula in the label multiplies the decimal 'DescriptionConfidence' value by 100 to convert it to a percentage.
If(IsBlank(PredictionResult),
   "",
   $"{Int(PredictionResult.DescriptionConfidence * 100)} % "
)
Conclusion
To caption images with AI, we can easily fulfill this requirement using the pre-built image description model. This post walked through
how to quickly build an app to demonstrate this functionality.
