Data - How to validate input data against other fields
A typical requirement is to validate an input value against another another input value on a screen. A classic example is a form with two input controls: Start date and End date. In this situation, we have to ensure that End Date is greater than or equal to Start Date.
In this example, we'll modify an edit form to add this type of validation to start date and end date fields. As a first step, it's a good idea to rename the data entry controls to something more meaningful. By default, the names of the date picker controls will look something like DateValue2.
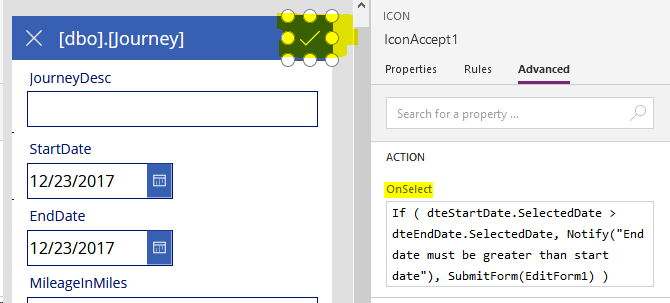
Now select the button that triggers the save, and modify it with the following formula.
If(dteStartDate.SelectedDate > dteEndDate.SelectedDate ,
    Notify("End date must be greater than start date", NotificationType.Error) ,
    SubmitForm(EditForm1)
)
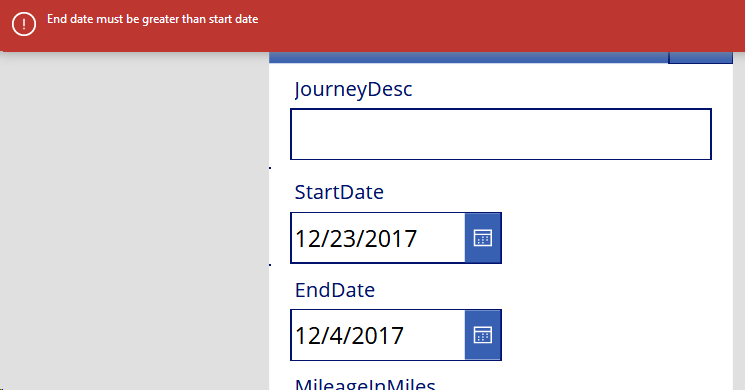
When a user now attempts to enter an end date earlier than the start date, the code will call the Notify function to alert the user. Here's how the screen looks at runtime.
It's also possible to show an error against the control that causes the validation error. To do this, add a label beneath the end date picker and set the error message text on the label.
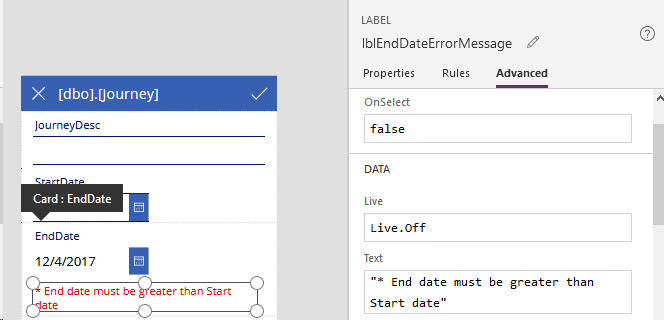
Now set the Visible property of the label to the following:
dteStartDate.SelectedDate > dteEndDate.SelectedDate
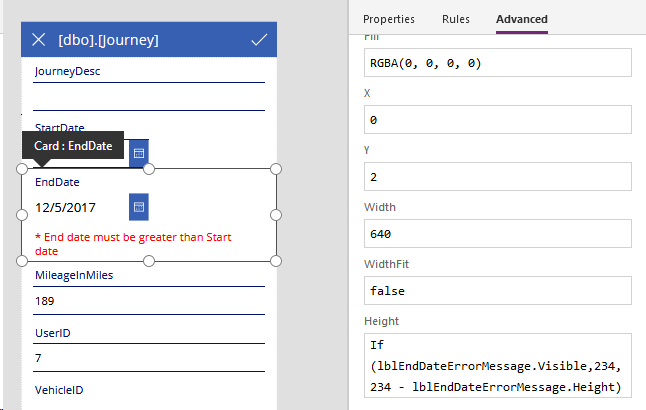
The error message label will now show when the user enters invalid data. To tidy up the form, we can add code to dynamically reduce the height of the data card if the error message isn't visible. An example of the formula you could use would look like this:
If (lblEndDateErrorMessage.Visible,
    234,
    234 - lblEndDateErrorMessage.Height
)