Power Virtual Agents - How to build and publish a basic chatbot
This post offers a beginners guide to Power Virtual Agent (PVA). We'll cover the topics that are specified in the Power Platform Fundamentals exam syllabus, which include how to:
- Create a topic
- Call an action
- Test a chatbot
- Publish a chatbot
- Monitor chatbot usage
- Monitor chatbot performance
The link to the full syllabus is here:
https://query.prod.cms.rt.microsoft.com/cms/api/am/binary/RE43Nnn
My previous post here decribes the use case scenarios of PVA:
http://powerappsguide.com/blog/post/power-virtual-agents-high-level-overviewMy previous post here decribes the use case scenarios of PVA:
How to create a chatbot
To create a chatbot, the first step is to visit the Power Virtual Agents website:https://powerva.microsoft.com/. The Chatbots menu item from the Power Apps Maker Portal also links to the same place.
The link to create a new bot opens the following dialog. Here, we specify the bot name, language, and environment.
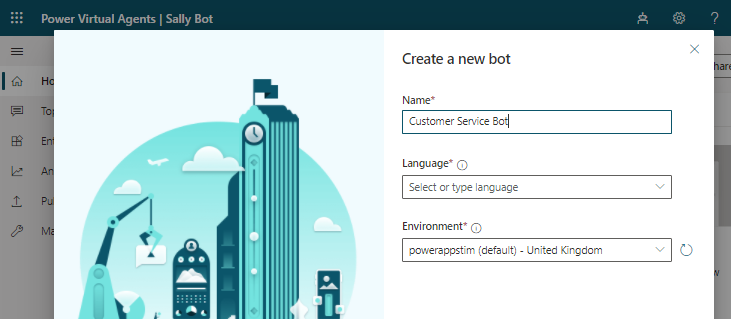
Due to dependencies on AI features that PVA requires there is a shorter list of
supported languages, compared to Power Apps. The supported languages include English, Japanese and most European
languages. Languages that are in preview include Chinese and Hindi.
Exploring the designer
Once the bot creation process completes, we can manage our bot through the designer (shown beneath).This consists of the following three sections:
- Navigation area - the left-hand navigation pane provides menu items to manage topics, entities, view analytics, publish bots, and to manage other settings.
- Bot tester - to test a bot, we can use this section to carry out a conversation.
- Canvas - the central, main body of the designer is where we carry out our work.
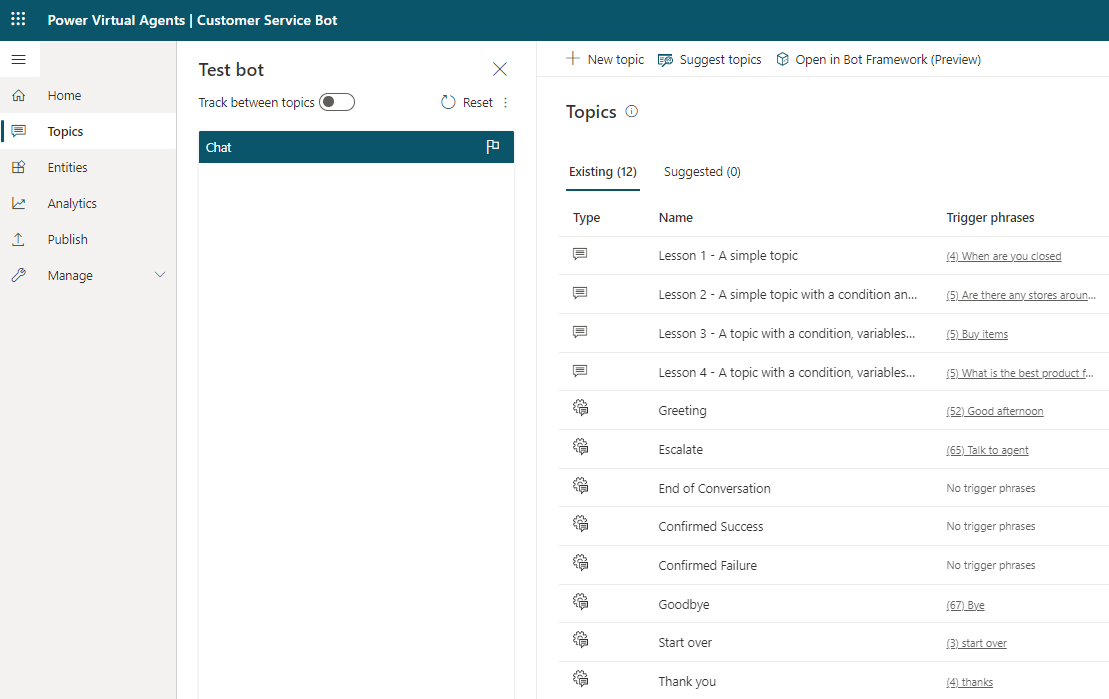
All new bots are fully functional. They include a number of tutorial topics that are named Lesson 1,2,3 and 4. These lessons demonstrate basic skills, such as how to apply conditions, use variables, and entities.
System topics define conversations that are common to most interactions with the bot. These include the topics Greeting, Escalate, Goodbye, Start over, and Thank you
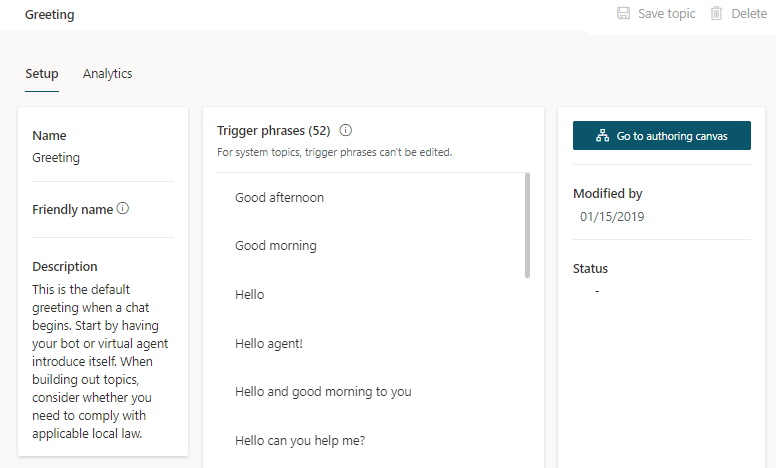
A typical interaction with a bot usually begins with the Greeting topic, shown beneath.
Without doing anything more, we can immediately test our newly created bot by typing messages into the test bot area. We can questions such as what are your opening times, I want to buy X online, when are you closed? These threads of conversation are covered in the built-in lesson topics.
Managing and Editing topics
We click the topics menu item in the navigation pane to view a list of topics that are associated with a bot. This list contains user topics and system topics.
System topics define conversations that are common to most interactions with the bot. These include the topics Greeting, Escalate, Goodbye, Start over, and Thank you
A typical interaction with a bot usually begins with the Greeting topic, shown beneath.
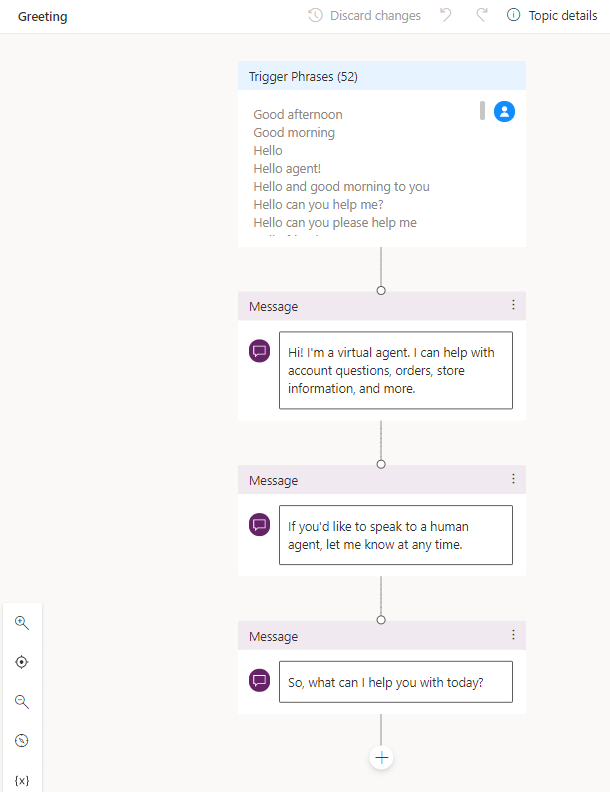
Trigger phrases define the input phrases from a user that will trigger the topic. For example, if a user says the phrase 'hello' to a bot, this initiates the greeting topic. The greeting topic is very simple, and outputs a series of messages to the user as shown beneath.
Creating a Topic
Creating a Topic
To demonstrate how to create a topic, we'll build a topic to fulfil user requests to recieve a brochure by email.
The first step is to click the menu item to create a new topic and to enter the trigger phrases. An example phrase could be 'send me a brochure'.
The first step is to click the menu item to create a new topic and to enter the trigger phrases. An example phrase could be 'send me a brochure'.
Following the trigger phrase, we can add messages and actions through a 'flow chart' designer that looks very similar to the one in Power Automate. Usually, the first step in a topic is to display a message to the user. In this example, we output the message "it looks like you want to order a brochure".
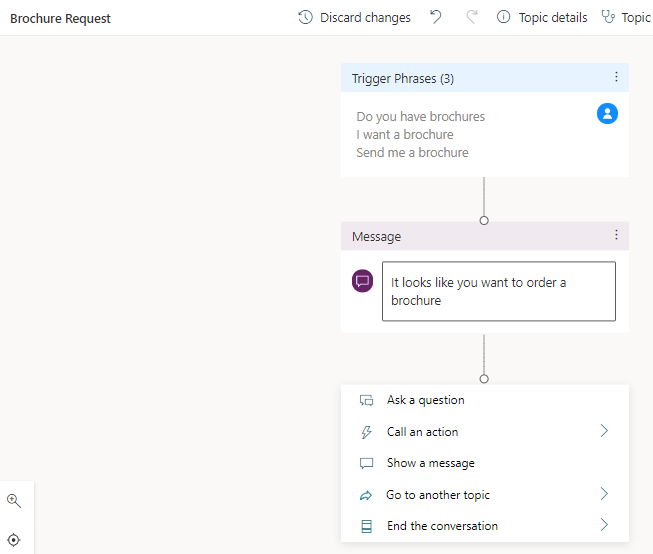
How to ask a question
To ask a question to the user, we click the '+' button after a step, and click the menu item to 'ask a question'.
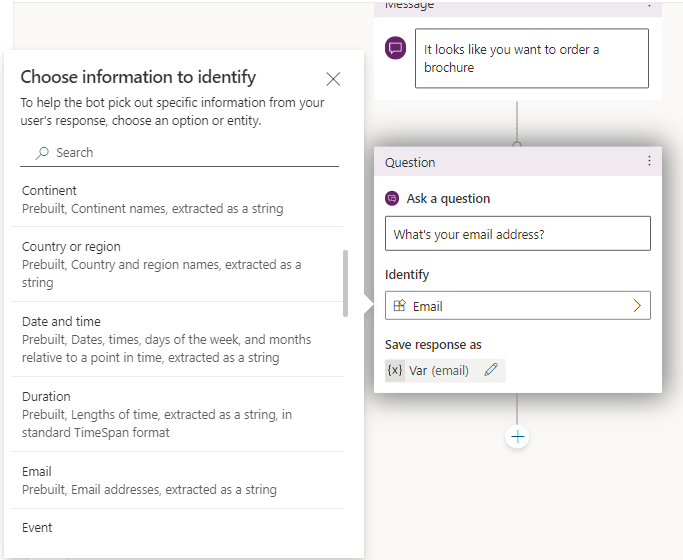
In the question box that appears, we enter the question text to display to the user. We can choose the type of answer that we expect to receive through the 'Choose information to identify' panel.
How to call an action
To call an action, we click the '+' button after a step, and choose the option to 'call an action'. In this example, we can call a flow that sends the brochure to the user by email. We can pass the email address that we received in the preceding step (which we've stored in a variable).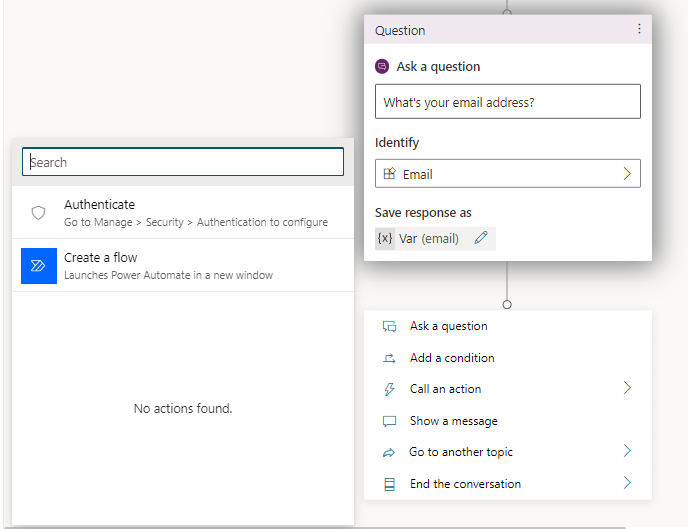
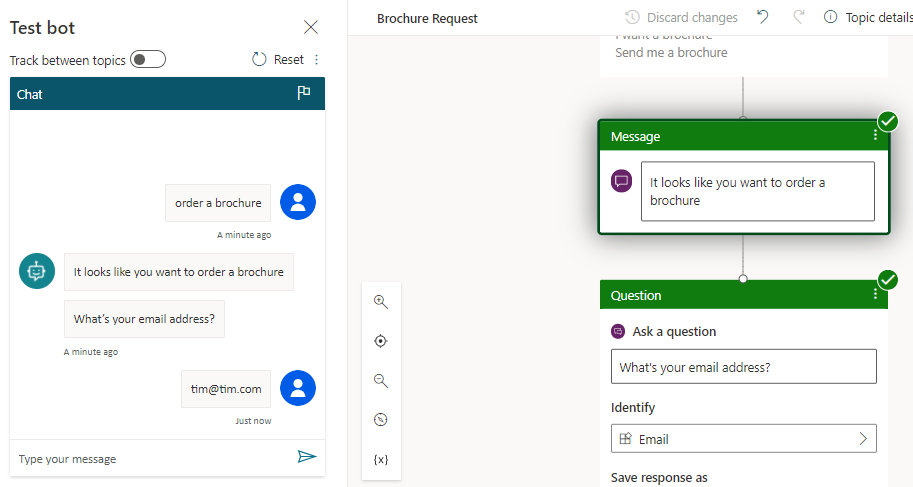
How to test a chatbot
To test a chat bot, we can use the bot tester to carry out a conversation with the bot. When we trigger a topic, the topic will appear in the canvas and the designer will highlight the active step. The steps that have succeeded are highlighted with a green banner and a tick icon.
How to publish a chatbot
To publish a bot, we click the publish menu item and click the green publish button.The publish process makes our changes available for live use.
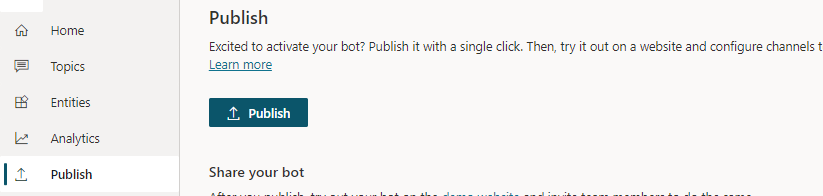
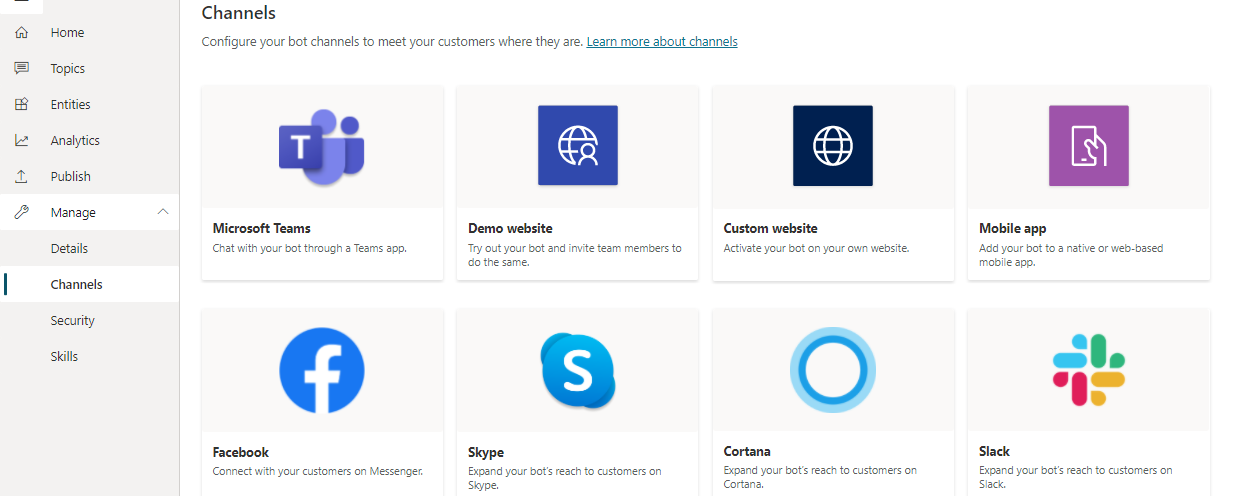
Next, we can click the channels menu item to manage the channels where our bot will operate.
How to monitor chatbot usage and chatbot performance
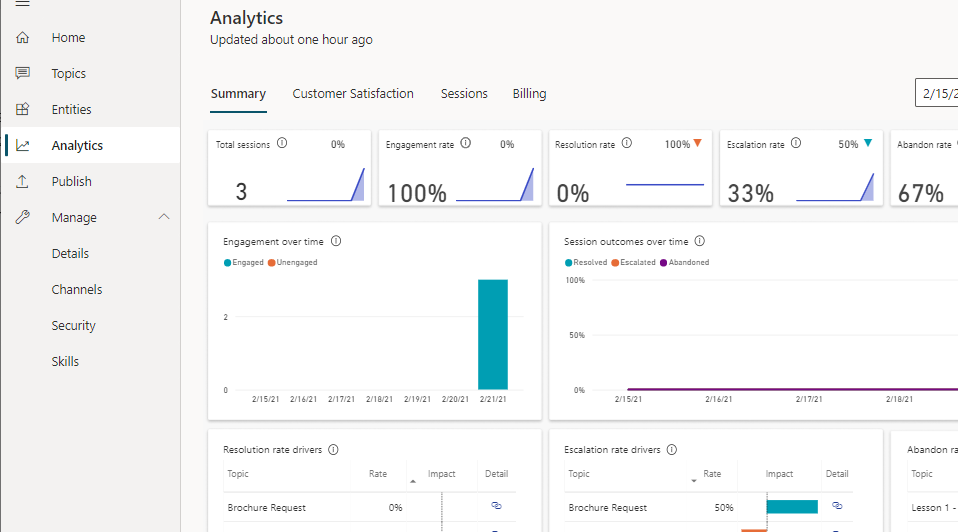
We can monitor chat bot usage and performance by clicking the analytics menu item through the left-hand navigation pane.
The details we can review include counts of the number of sessions and topics that have been triggered. We can also find statistics that relate to engagement rates, the number of conversations that required escalation, the number of sessions abandoned, the number of sessions resolved, and customer satisfaction ratings.
Conclusion
This post provided a basic introduction to Power Virtual Agents. We covered the main items in the navigation panel, and we looked at how to use the designer. We coved the primary topics for the Power Platform Fundamentals exam, including how to create a bot and topic, how to call actions, and how to publish and monitor a bot.
